Showing posts with label fruit crates. Show all posts

Two Insect Hotels & Bug Houses Designed and Made from Repurposed Materials - The Gite & The Chalet

There are so many fascinating insects living in a garden and they need both places to overwinter and somewhere to lay eggs in warmer months.
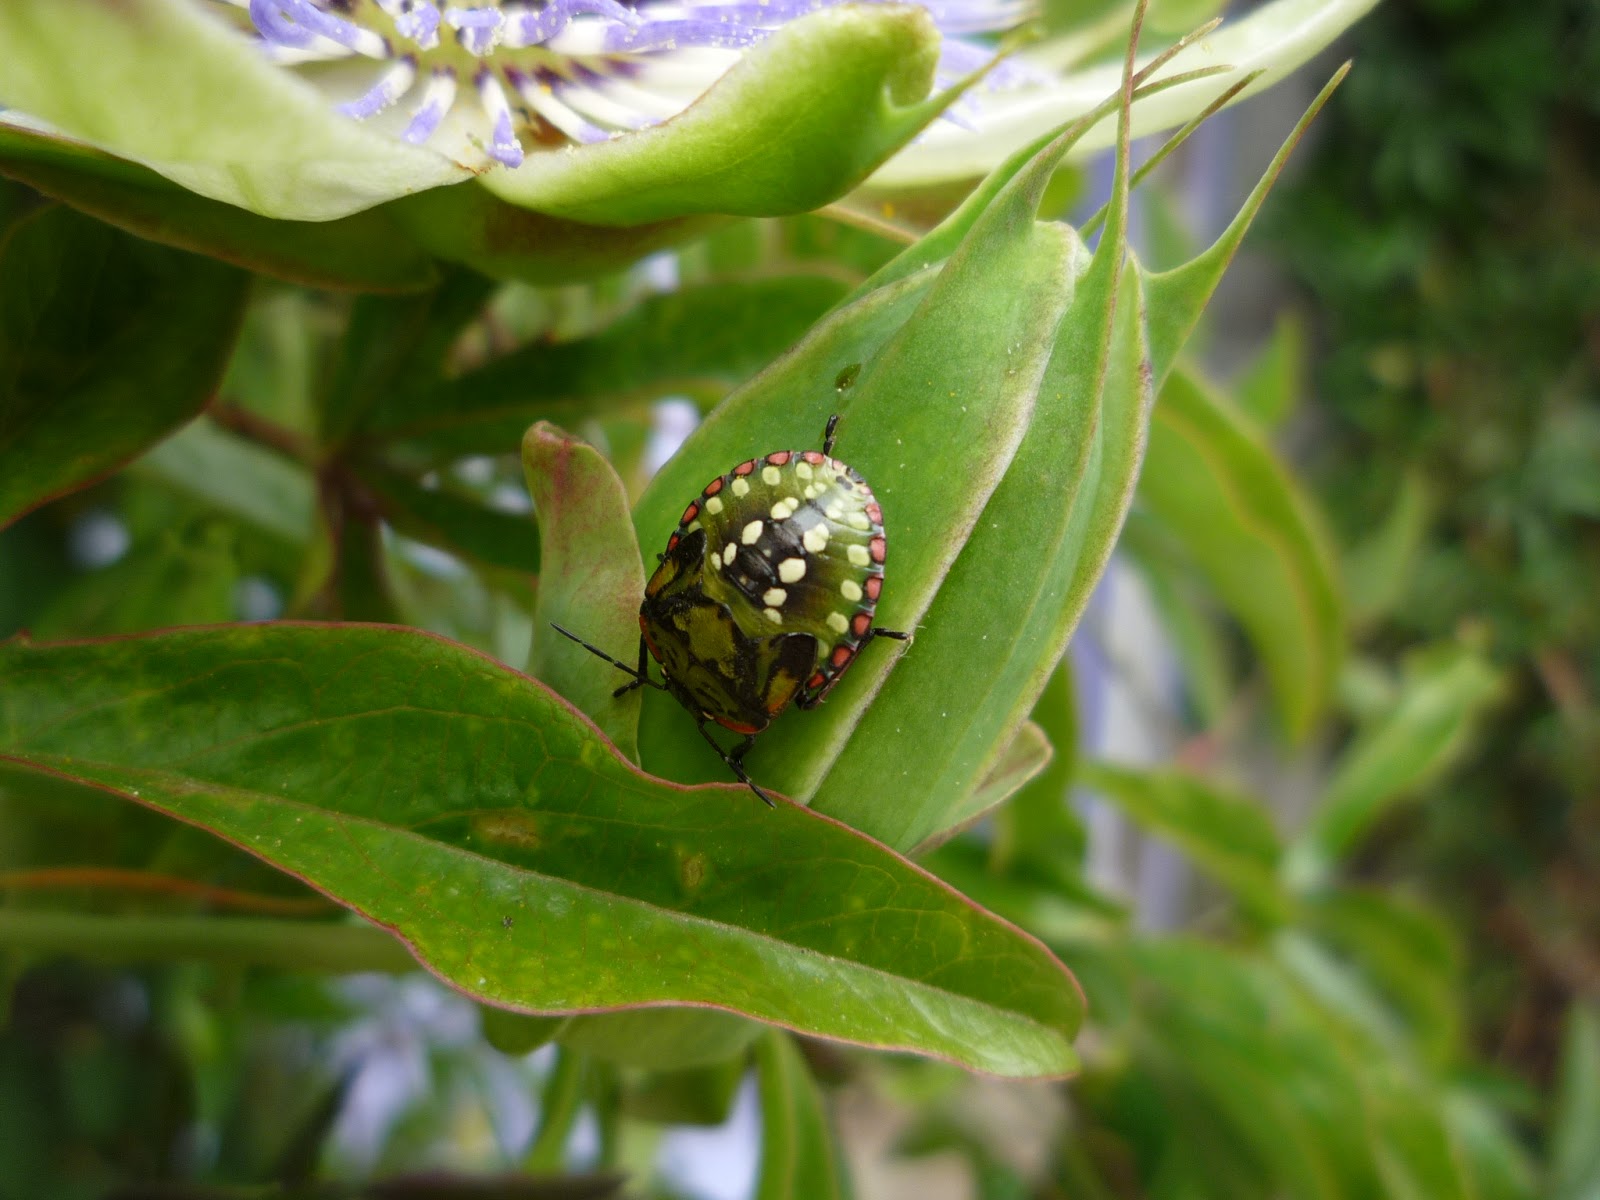
Shield bug on a passionflower leaf

Many gardeners are fastidious in clearing away rotted wood, fallen branches, piles of leaves and herbaceous stems. This debris however, offers sought-after accommodation to a whole raft of arthropods, many of whom have kept the garden pest-free, as well as pollinating fruits and vegetables.

European Black Bee

In order to compromise therefore, it is necessary to offer alternative accommodation. This is however not the whole story. Continued use of pesticides has severely depleted insect populations, so if you can offer a haven for them within you own garden, then you are also doing your bit to preserve the biodiversity and counteract the harm being done elsewhere

The following blog post offers two of our more simple designs, whereas the following article will share some of our more elaborate insect homes. These are all made from repurposed materials, untreated pallet wood, fruit crate wood and general garden debris. To decorate them, we use natural earth and mineral pigments, made, as the name suggests, from clays and semi-precious stones. Our article using natural pigments should help you, if you have never used them before.

The Gîte


Simple Mason Bee House

This is one of the simplest form of solitary bee and lacewing houses, two types of insect who offer so much to the gardener. There are over 200 species of the former, one such, the Harebell bee is so small it can fit inside a wheat-straw stalk and often uses a disused woodworm burrow. When the bees find the accommodation to their liking they will stay throughout the year, using the hole as a nursery, making it the basis of an expanding colony for the garden. This is of great advantage, as it is the solitary bee, which does most of the task of pollinating our food crops. The recommended diameter of burrow to attract these bees is from 2-10 mm. You can achieve this by simply collecting suitable sized hollow stalks or you can do as we did above and drill out some of your old prunings, in our case; buddleia. The lacewing, a delicate and beautiful creature is a wonderful gardener's helper, with many of the species having a voracious appetite for aphids. This sort of accommodation can be sited anywhere you find a suitable opening but in order to attract the insects initially it is a good idea to site it where there are melliferous flowers

The Chalet


Simple insect house design

This is a nice little project and where you can use natural pigments to create some really harmonious designs as well as useful insect accommodation. They also make great gifts and can be either suspended or attached directly to walls or fences.

Mason bee house design in pallet woodMason Bee House from pallet wood block

The chalets are made from pallet wood blocks with a piece of pallet wood planking for the backing board. They also have roof shingles cut from fruit crate wood. The roof shingles can be attached either with 15mm panel pins or, if you have it, a mechanical or electric stapler. The most difficult part is drilling the pallet wood block. I used 6 and 10mm drill bit.


If you are thinking of this as a project for a child, it could be given in kit form, even as a gift, for self-assembly and the opportunity to get creative in personal choice of decoration. From experience it is better to varnish or oil each individual element before the final assembly. You can have great fun mixing and matching the pigments and apart from being great gifts, these insect homes can make useful little items for a fund raising event or, who knows, the start of a whole new career! 

Bug house for hanging in trees
Simple Insect Hotel in use

Truly the gift that keeps on giving, when we were wrapping up one of these as a birthday present, we noticed that one of the chambers was already occupied! It also makes a fascinating study to just sit and watch who comes to check out the accommodation. On the right, you can see that two holes have already been sealed. If you have leaf cutter bees, then they make for compulsive viewing.


Here is our detailed film on how to make the chalet:


A following post will share two more designs for insect hotels, again made from repurposed freely available materials, so until then, thanks for dropping by!Please feel free to share this article, comment and/or ask for further information.

All the best, Andy

© Andy Colley 2014

RELATED ARTICLES

Home-made Insect Hotel from Repurposed Materials

The Bee Cosy for cosy bees is an elegant green gift for you to make using 99% recuperated materials...read more


Home-made Repurposed Wood, Luxury Insect Hotel

Fun to make and fascinating to watch, these insect hotels can make all the difference to the successful pollination of your fruit and vegetable...read more


An Insect Hotel as a Utility Box Cover - Design & Construction

The electricity company brought power to the property but sited the ubiquitous supply box right in front of the house. Not surprisingly, she is unhappy...read more


Make a Pallet Wood Creel or Overhead Drying Rack for Clothes, Herbs and Flowers


Cheap and cheerful engineering in the practical use of recycled, untreated pallet and fruit crate wood to make a pulley creel/dryer.


I had two main reasons for making this drying rack, firstly because our teatowels were getting singed on the woodburner and secondly we had a huge crop of chillies to dry and store.

However, this rack, which in the Winter we use to dry clothes, could be made at least twice the size and give ample room to dry all your washing. I decided to go the whole hog and fabricate the pulleys. It was not as hard to make them as I had supposed. Even if you are just starting out in woodworking I think you will find that you will be able to make them quite easily by just following the steps set out below.


If you decide, as I did,  to cut the clothes rails down from pallet wood planks, then I would recommend using a circular saw. Alternatively you could buy three broom stales or wooden dowels (the former I could get here for 1 Euro each) but I enjoy the challenge of making everything from recycled wood! 


You will also need a set of hole saws to make the different components of the pulleys, these are inexpensive and usually easy to find as they are commonly used to cut large diameter holes for electrical installations. They are also a good investment as they provide a cheap alternative to buying expensive, large size wood drill bits. You often find them included in drill sets. My set of seven hole saws was included in a set of drills and the  collection cost 12 Euros.


Step One - Making the Pulley Wheels & Housing with some tips on sourcing fruit crate wood


I chose a specific fruit crate wood, which is 3 ply, these are quite common and are usually for transporting oranges and other heavier fruit and vegetables. The side and end pieces are wide enough to be very useful in all kinds of projects. Keep a good look out for these particularly now in the marmalade orange season!


Robust 3 ply fruit crate wood, or in this case a potato box.


Cutting out the basic pulley components


From a pallet wood plank cut 3 discs at 50 mm diameter.


From a fruit crate (orange box) cut 5 discs at 60 mm diameter. 


 Drill out central hole to dowel diameter.


Assembling the pulley components


You will be making two pulleys, one single and one double. The double pulley maintains the separation of the cord attached to each end of the rack and combined with the single pulley enables the free running of the cord.


Starting with the single pulley, glue both faces of the smaller pallet wood wheel and attach to the faces of the larger fruit crate wheels. To ensure correct alignment of the central hole, insert the dowel shaft prior to clamping (do not glue this).


Clamp and leave to dry as per Manufacturer's instructions for the glue you are using.


 Repeat for the double pulley.


Making the pulley housing


Each pulley housing comprises a base and two sides. They are made from pallet wood and I shaped the ends to make them more aesthetically pleasing but there is no need to do this.


Cut 4 sides and cut 2 bases. The base should be slightly wider than the pulley. Drill hole for dowel and having marked base thickness on sides, drill clearance holes for screws.


Glue and


screw


Prior to screwing the second side, fit the pulley on its shaft into the housing to ensure shaft alignment


Step Two - Making the Rack. Cutting out the basic components


I used a coat hanger as a pattern for the end plates of my rack.


Cut two end plates from a pallet wood plank.


Cut the square section rails from pallet wood.  Each end should be shaped to fit the holes you will drill in the end plates. I used a penknife to shape the rail ends.


Step Three - Assembly


Glue and if you want to, though not necessary, clamp.


Mount pulleys to ceiling joists, sit back and watch it on film.


If you have enjoyed this article and found it interesting then share it with your friends on social media or suchlike. Please also feel free to ask questions and or make comments and if you found this helpful and would like to support this site you can always Buy Me a Coffee at ko-fi.com =$3.

Until next time and from a sunny day in Normandie,

Cheers, Andy
© Andy Colley 2014
RETURN TO GREEN LEVER CONTENTS PAGE FOR MORE ARTICLES 

Home-made Wild Bird Feeder from Repurposed Materials - A is for Apple House


Our handsome Polish crested cockerel Ruffles showing far too much interest in this easy to make pallet wood food dispenser, for use with fruit or fat balls.

This is something to make for your own garden but also we have made and given away many as presents. They make ideal gifts to take round to a house warming or Birthday party. We also have on this blog the 'how-tos' for various design bird boxes and an insect hotel all of which have film follow-ups. Many of our projects take less than an hour to assemble, even including the preparation. They also use a minimum of tools and purchased extras and they have scope for personalised, individual decoration and imagination. If you are really inventive you could even recuperate all your nails and tacks and take the price of your presents down to zero. The wood used in all the projects is untreated pallet wood so if you follow these links you will be able to pick up two articles with information on finding and using pallets:
http://thegreenlever.blogspot.com/2011/11/how-to-collect-pallets.html
and http://thegreenlever.blogspot.com/2011/11/few-guidelines-for-collecting-pallets.html


An Aid to Orchard management

We first came across the idea for an apple house in a garden centre in Holland it consisted of a piece of wood with the outline of an apple cut out of it. There was a wire to hold the fruit in place and a couple of strips on top to make a protective roof and give it the appearance of a house.


Apple picking with the Quality Control Inspectorate


Let them eat grapes. Omnivores also means fruitivores


We liked the idea for an apple house for our garden because we have a lot of apple trees and windfalls but the wild birds don't really get a look in with all the competition. I also think that wild birds feel more vulnerable eating on the ground, so the Apple House provides them with a safer and more natural position in which to enjoy the fruit.


Testing, testing, one, two three and four!


There is another more practical consideration for us as well and why this will be a much appreciated gift for anyone who has late apples, such as Jonagold. These fruit start to ripen  as the garden is beginning to prepare for Winter and the wild birds start to feel the urgency to store up some extra vitamins and minerals. So as Autumn begins to bite, so do they and finding the fruit not quite ripe, they move on, hopping and hoping for the next and the next apple to be ready.


Some thoughts about tools

The Apple House as designed for our video uses a minimum of simple hand tools and this bird feeder can with help and supervision easily be made part of a holiday project to get children interested in self-sufficiency and recycling.  Furthermore it can also be used as a way of introducing children to the practical use of hand tools, something which could be of immeasurable use in the not too distant future. As for financial concerns,  buying  power tools has never been cheaper, over the past couple of decades these latter have become a drug on the market and  you can pick up a handy and good quality cordless screwdriver, for example, for around 10 euros/dollars/pounds. Good hand tools however, are another story, 1930s novels are full of old men complaining about the quality of steel, they didn't know when they were well off.

You are often better buying old tools at a car boot or yard sale, they are usually of excellent quality and because of this can be sharpened and/or reset. Be aware of brand name old tools, over the past few years these have become collectors items and can now command very high prices. However, good tools are an investment and the more you become acquainted with them the more you will be competent to build up a fine collection.
                                                We are somewhere in the middle.


For the Apple House the tools you will need are as follows: a saw, tri-square, hammer and a tape measure.
 

You will also need the following materials and fixings, a pallet wood plank and block, some slats from a fruit crate, a few nails and tacks and some string. In addition you will need some interesting looking twigs and a pair of scissors or secateurs.


Handy hint for all projects - No tri-square? Use a CD box.


I get my fruit crates from my local organic shop, where we do our food shopping. They also give me the occasional pallet. In this way I know these crates come from organic growers and will not have contained potentially hazardous chemically treated fruit and veg.


The Apple House itself can be recycled in the Spring to become a nest box for a small bird, such as a wren, blue tit or robin. All it needs is the addition of a tacked on front and back made of fruit crate slats. Remove the twigs and in the Autumn transform it back to an Apple House.

With the addition of a piece of wood laid across the twigs the Apple House can be transformed into a table for small birds after the apples have all gone. Use string to attach rinds and nuts to the twigs for additional avian gourmet treats.


Now sit back, relax and watch Andy make the 'Apple House':


Hope you get to make one.

If you enjoyed this article, please feel free to share it, comment and/or ask questions.

Cheers, Andy

© Andy Colley 2014